A slab that is not what it seems
Cracks, a thin spot or soft concrete mean the anchors cannot hold. The usual fix is to cut out and pour a reinforced pad under each column, then let it cure before installing.
Sample project
A general repair shop swapped an old, worn lift for a new two-post lift in its busiest bay. Here is how a job like this goes, step by step.
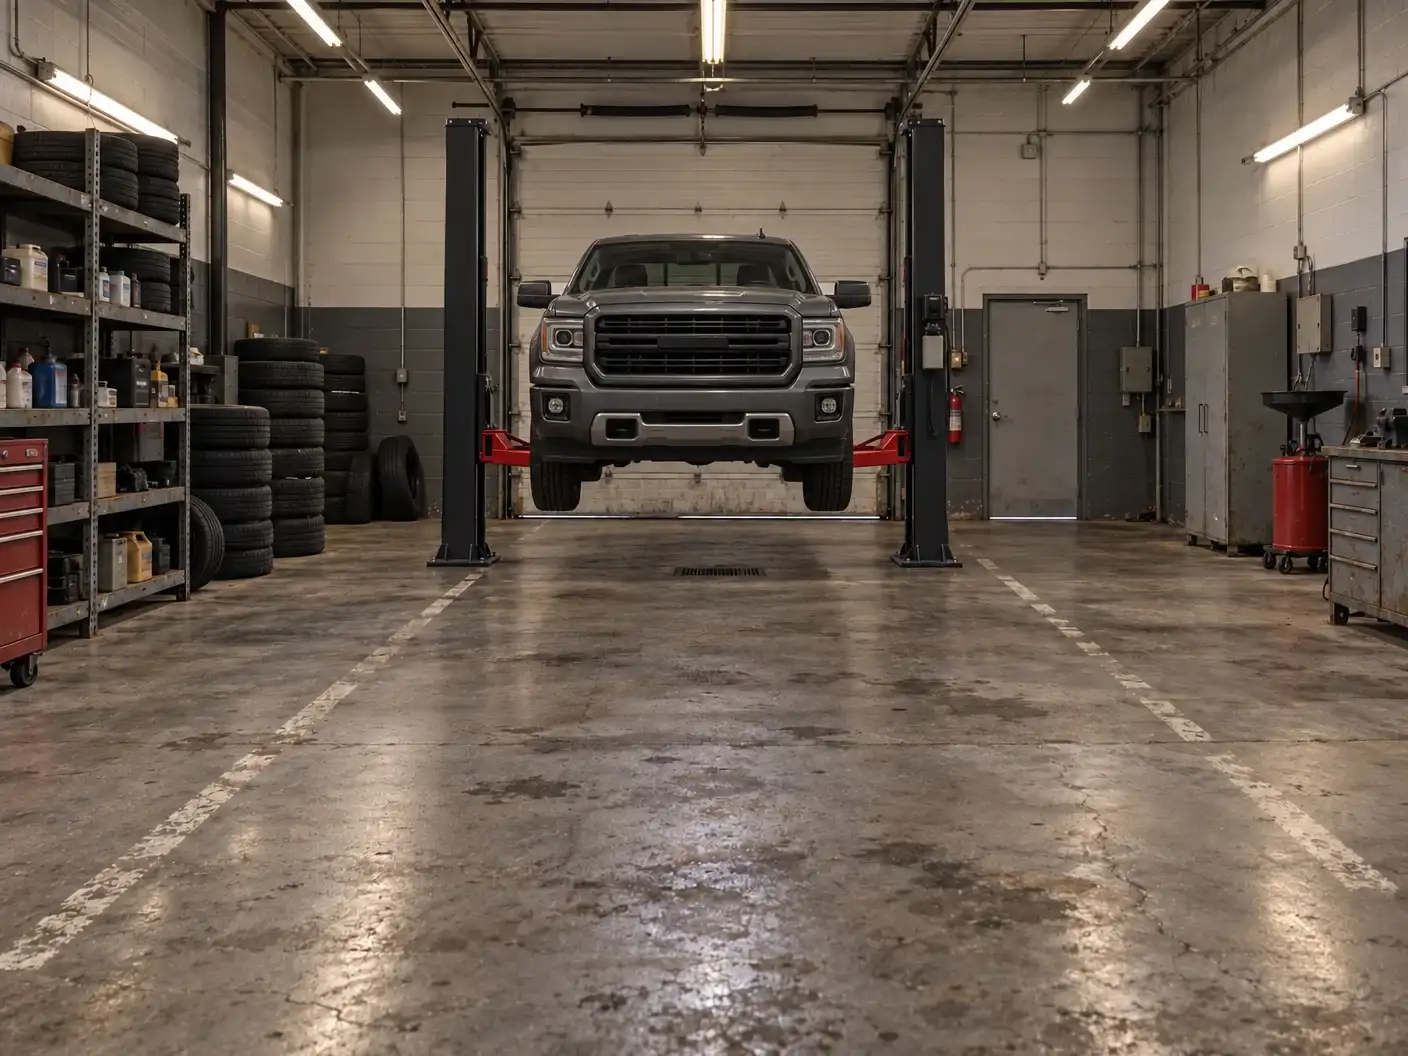
The shop's oldest lift was slow, leaking fluid and no longer matched the trucks coming through the door. The owner wanted a two-post lift that could handle full-size pickups, with a clear floor between the columns so a vehicle could be moved in and out without driving over hoses.
Before quoting, we looked at the bay itself: the slab, the ceiling height, the power and the space around the lift. A lift is only as good as the floor it stands on.
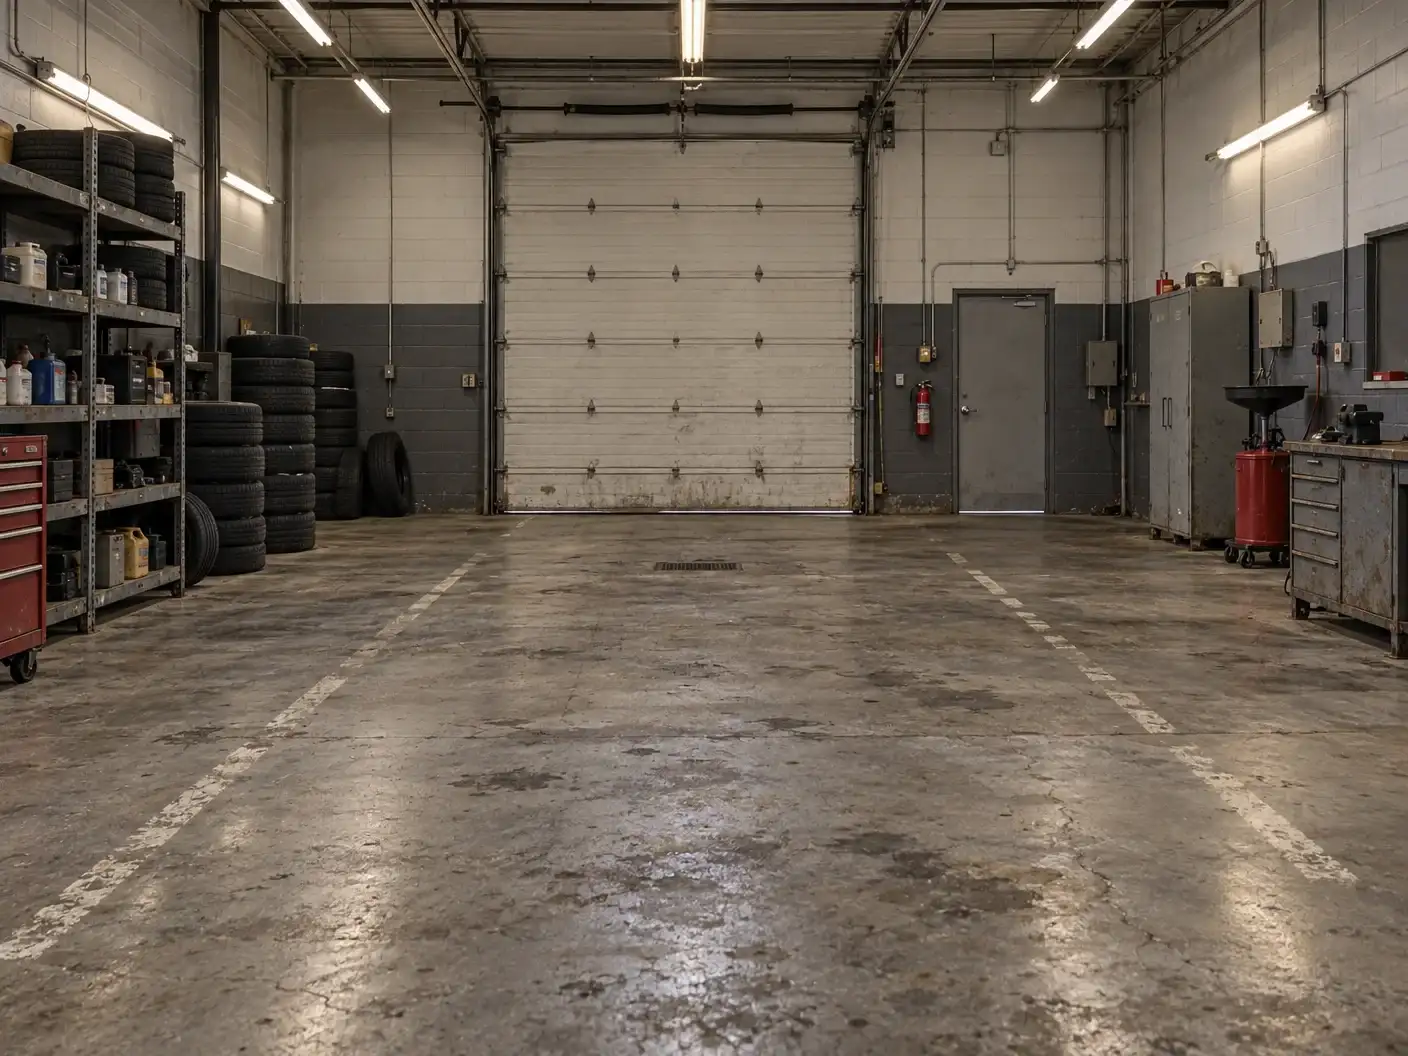
We measure the bay, check the overhead for beams, lights and heaters, and confirm where power will come from. Manufacturers publish minimum clearances for each model, so we work from the installation manual for the lift being installed.
Manufacturers typically call for a slab around four inches thick, at least 3,000 PSI, fully cured, with no cracks or joints near the anchors. We check what we can see and, if the slab is in doubt, say so before drilling.
The old lift is drained, unbolted and carried out, and the floor is cleaned and inspected where it stood.
The columns are stood up, squared to the bay and checked for plumb. Anchor holes are drilled to the manufacturer's size and the anchors are tightened with a torque wrench to the value in the manual, never an impact wrench.
The overhead assembly goes up, then the lifting and equalizer cables and the hydraulic hoses. The equalizer cables are adjusted so both carriages rise together and the safety locks click at the same height.
The power unit is filled with the fluid the manufacturer specifies, connected to a dedicated electrical circuit, and the lift is cycled with no load before anything is lifted for real.
We raise a typical vehicle, check the arms, the arm restraints and the locks, and then walk the shop through safe operation. A lift should only be run by trained operators.
Cracks, a thin spot or soft concrete mean the anchors cannot hold. The usual fix is to cut out and pour a reinforced pad under each column, then let it cure before installing.
Some slabs contain tensioned steel cables, and drilling into one is dangerous. Manufacturers say to check the building plans, and scanning the slab can help, before any hole is drilled.
Shims level the columns, but only so far. Many manufacturers limit shimming to about half an inch; beyond that the floor needs to be corrected, not shimmed.
The bay was back in use the next morning. Lifts like this are meant to be inspected at least once a year by a qualified lift inspector, which is the interval the ANSI/ALI ALOIM safety standard calls for, and we set up that schedule with the shop.
Specifications vary by lift model and manufacturer. We always work from the manufacturer's installation instructions.
Tap a photo to enlarge it.
A sample project written for this demo. The shop, timeline and details are illustrative and will be replaced with real jobs. AI-generated sample images for this demo, to be replaced with photos of our own installs.
Tell us about your shop and we will recommend the right setup.
Or call (915) 268-7878