Fitting it all in
Lifts, vehicles, doors and walkways all need space. Drawing it to scale first catches problems on paper instead of on the floor.
Sample project
A shop moved into a larger building and needed every bay laid out, equipped and working. A look at planning a service bay from an empty floor.
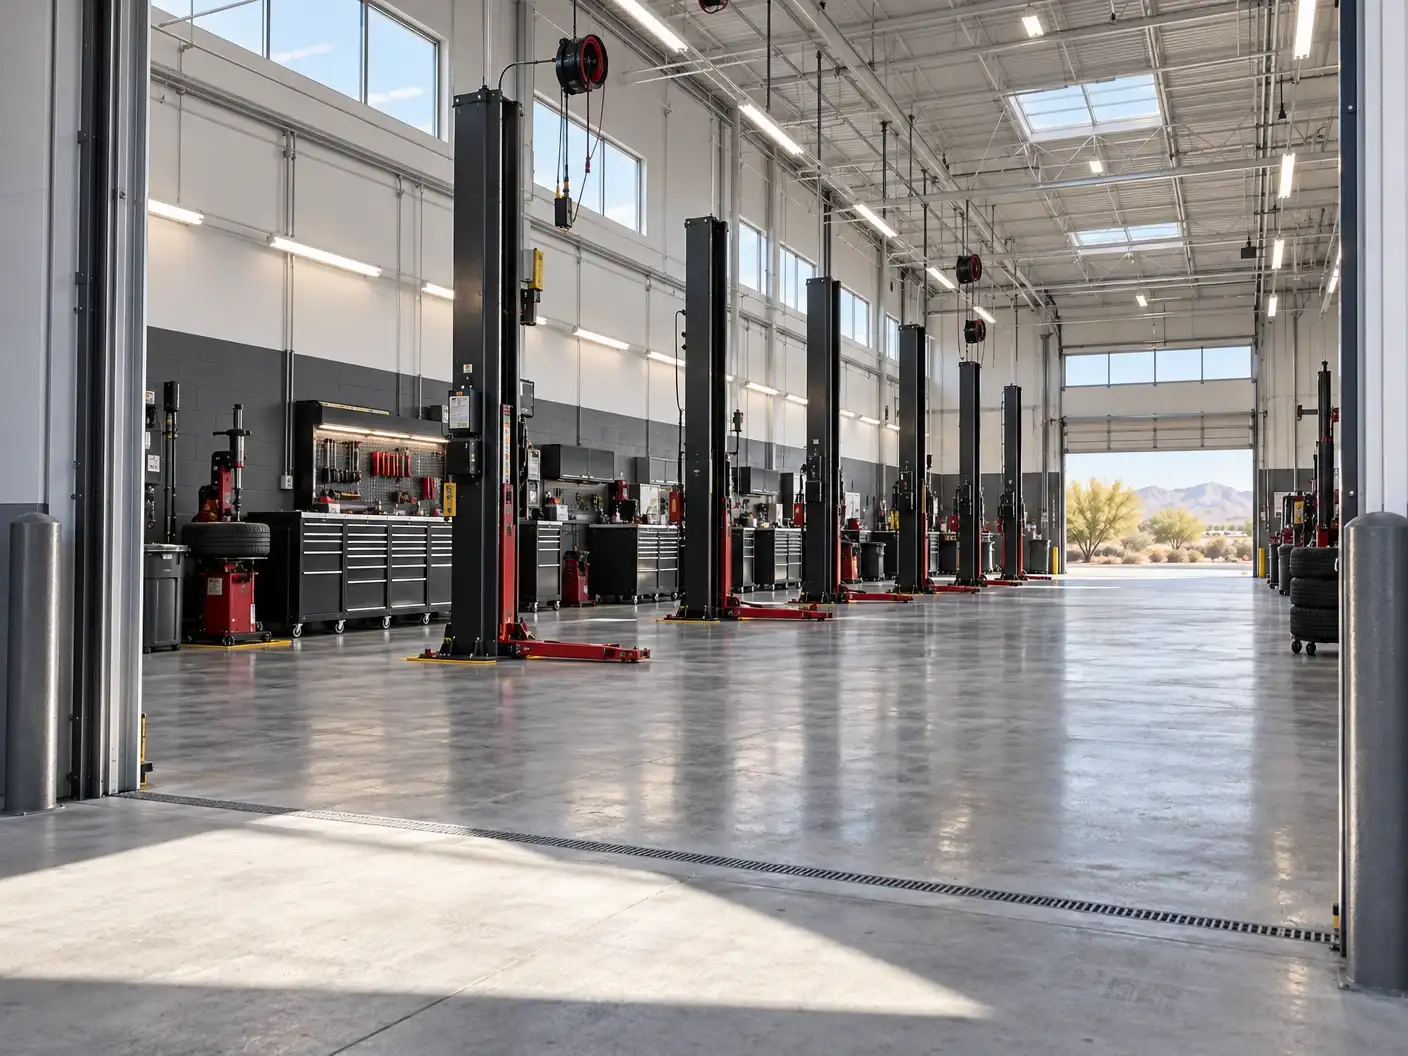
The shop had outgrown its old building. The new one was an empty shell with a slab, a high ceiling and open roll-up doors. The owner wanted to open with the bays already working, not to build it up around a running shop.
The job was to plan the whole floor: where each lift goes, how vehicles move through, and where air, power and fluids are delivered.
We draw the bays to scale: each lift needs clearance on its sides and front, and manufacturers publish minimums for every model. One common two-post model, for example, asks for about six feet to the nearest obstruction and seven to a wall.
Each lift location gets the same slab checks, and the ceiling must clear the tallest vehicle at full lift height. A ceiling around twelve feet is a common recommendation.
The lifts go in one at a time, each anchored and tested.
Overhead drops carry air and electricity to each bay, and hose reels deliver oil and other fluids where the technician works.
Tool walls, rolling tool chests and shelving go between bays so tools are at hand without being in the way.
Every lift is tested with a vehicle, every circuit and air drop is checked, and the crew is shown how everything works.
Lifts, vehicles, doors and walkways all need space. Drawing it to scale first catches problems on paper instead of on the floor.
It is far cheaper to place drops where the work will happen before the shop is full than to move them afterward.
We install in stages, so the first bays can start earning while the later ones are being finished.
The shop opened with every bay working. Because the planning was done first, adding another lift later is a short job rather than a rebuild.
Specifications vary by lift model and manufacturer. We always work from the manufacturer's installation instructions.
Tap a photo to enlarge it.
A sample project written for this demo. The shop, timeline and details are illustrative and will be replaced with real jobs. AI-generated sample images for this demo, to be replaced with photos of our own installs.
Tell us about your shop and we will recommend the right setup.
Or call (915) 268-7878